
How to Lay Laminate Flooring: DIY Guide + Shine Tips
Installing new laminate flooring is one of the most searched home improvement topics—and for good reason. It’s affordable, stylish, and relatively simple to install with the right tools and prep. But here’s the secret many DIYers overlook: the real difference between good floors and great floors isn’t just how you lay them—it’s how you care for them afterward.
In this guide, we’ll walk you through the basics of laying laminate flooring and reveal the final step that makes all the difference: protecting your investment with Quick Shine®.
Tools and Prep: What You’ll Need
Before you begin, gather the right tools for success.
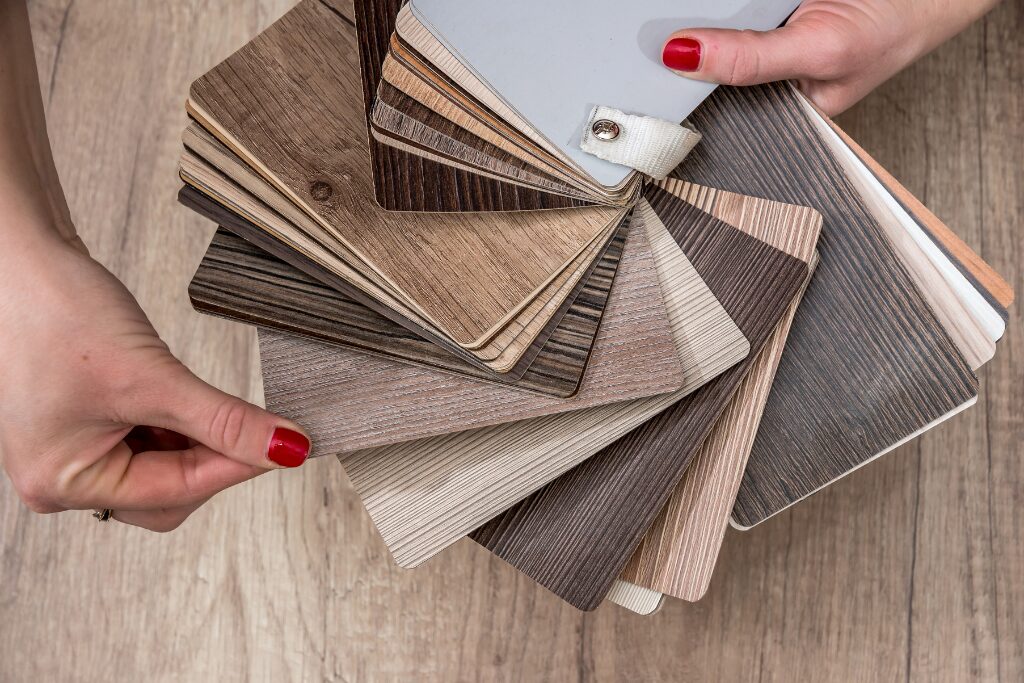
- Laminate flooring planks
- Underlayment (if not pre-attached)
- Spacers
- Tape measure
- Rubber mallet
- Tapping block
- Saw (for cutting planks)
- Safety gear (gloves, goggles)
Pro Tip: Allow your laminate planks to acclimate to the room temperature for at least 48 hours before installation. This prevents unwanted buckling later.
Prepare Your Subfloor
A clean, level subfloor is critical for a smooth installation.
- Remove old carpet, nails, or debris.
- Sweep or vacuum thoroughly.
- If installing over concrete, lay down a vapor barrier.
Lay the First Row
- Start along the longest wall.
- Place spacers between the wall and planks to allow for expansion.
- Use the click-and-lock system to snap pieces together.
Continue Across the Room
- Stagger seams for a more natural look.
- Use your tapping block and mallet to ensure snug fits.
- Trim planks as needed at the end of each row.
Finish and Seal Edges
- Once the final row is in place, remove spacers.
- Install baseboards or trim to cover the expansion gap.
At this point, your laminate floor is installed—but it’s not yet protected. That’s where Quick Shine comes in.
The Overlooked Step: Protecting Your New Floors
Freshly installed laminate looks amazing, but everyday wear can dull the finish quickly. Scratches, scuffs, and foot traffic all take a toll.
Why Protection Matters
Laminate is durable, but it isn’t indestructible. Adding a protective layer enhances shine, prevents micro-scratches, and extends the life of your new floor.
Quick Shine®: The Final Touch
With Quick Shine® Multi-Surface Floor Finish or Quick Shine® Hardwood Floor Luster, you can instantly restore and protect your new flooring. Simply apply, let dry, and enjoy a lasting polished look.
Maintaining Your Laminate Floors
To keep your floors looking their best:
- Sweep or vacuum regularly.
- Avoid abrasive cleaners or harsh chemicals.
- Use Quick Shine® Multi-Surface Floor Cleaner for everyday care.
- Refresh with Quick Shine® Floor Finish every few months to maintain shine.
FAQs
Can you use Quick Shine on laminate flooring?
Yes! Quick Shine products are safe for use on laminate, hardwood, LVT, and other sealed hard surface floors.
What’s the difference between laminate and LVT flooring?
- Laminate: Made from fiberboard with a photographic layer that mimics wood.
- LVT (Luxury Vinyl Tile): A synthetic option with water resistance, making it great for kitchens and bathrooms.
Both look beautiful—and both benefit from Quick Shine’s protective finish.
Installing laminate flooring is easier than you think, and the results can completely transform your home. But don’t stop at installation—protect your investment with Quick Shine®. With the right care, your floors will shine like new for years to come.
👉 Ready to protect your floors? Shop Quick Shine products here.